Format USB, SSD and Pen Drive, Using CMD
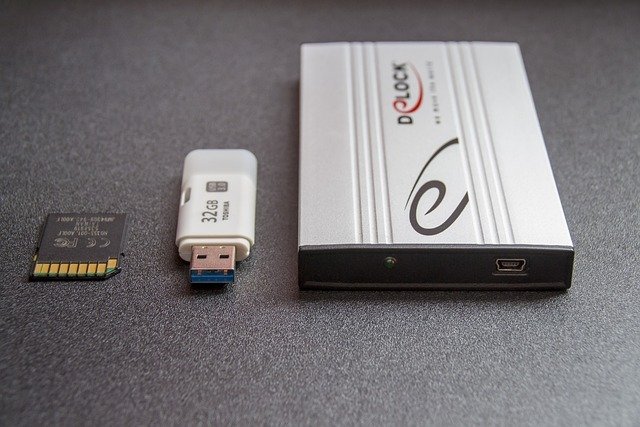
Formatting your storage devices like SSDs, pen drives, and USBs can be necessary for various reasons, such as removing malware, resolving compatibility issues, or simply preparing the device for a fresh start. While there are several ways to format these devices, using the Command Prompt (CMD) provides a reliable and efficient method. In this guide, we’ll walk you through the step-by-step process of formatting your SSD, pen drive, or USB using CMD.
Before we begin, it’s important to note that formatting a storage device will erase all the data stored on it. Therefore, make sure to back up any important files or data before proceeding with the formatting process.
Step 1: Open Command Prompt

To start, open the Command Prompt on
your Windows computer. You can do this by pressing the Windows key + R, typing “cmd” in the Run dialog box, and hitting Enter. Alternatively, you can search for “Command Prompt” in the Windows search bar and click on the application when it appears.
Step 2: Identify the Drive Letter

Once the Command Prompt is open, you’ll need to identify the drive letter assigned to the device you want to format. To do this, type “diskpart” and hit Enter. Then, type “list disk” and press Enter again. This will display a list of all the connected storage devices along with their corresponding drive letters.
Step 3: Select the Drive

Next, you’ll need to select the drive you want to format. To do this, type “select disk X” (replace X with the appropriate drive number) and hit Enter. Make sure to select the correct drive to avoid formatting the wrong device.
Step 4: Clean the Drive

Before formatting, it’s recommended to clean the drive to remove any existing partitions or formatting. To clean the selected drive, type “clean” and press Enter. This command will erase all the data on the drive, so double-check that you’ve selected the correct one.
Step 5: Create a New Partition

After cleaning the drive, you’ll need to create a new partition. To do this, type “create partition primary” and hit Enter. This command will create a new primary partition on the selected drive.
Step 6: Format the Drive

Now it’s time to format the drive. To format the newly created partition, type “format fs=ntfs quick” and press Enter. This command will format the partition using the NTFS file system. If you prefer a different file system, such as FAT32, you can replace “ntfs” with “fat32” in the command.
Step 7: Assign a Drive Letter
Once the formatting is complete, you’ll need to assign a drive letter to the newly formatted partition. To assign a drive letter, type “assign letter=X” (replace X with the desired drive letter) and hit Enter. This will assign the specified drive letter to the partition, making it accessible in File Explorer.
Step 8: Exit DiskPart
To exit the DiskPart utility, type “exit” and press Enter. This will close the DiskPart command-line tool.
Congratulations! You have successfully formatted your SSD, pen drive, or USB using CMD. Your device is now ready to be used for storing data or installing an operating system.
Remember, formatting a storage device erases all the data on it, so make sure to back up any important files before proceeding. Additionally, exercise caution when selecting the drive to avoid formatting the wrong device.
In conclusion, formatting your SSD, pen drive, or USB using CMD is a straightforward process that can be done in a few simple steps. By following this guide, you can ensure that your storage devices are properly formatted and ready for use.
Happy formatting!
Leave comments for help


